50% off Vogue Patterns – Sale Now On

NEW Diane von Furstenberg x Vogue Patterns

NEW VIP Patterns – Vogue and New Look

UK’s biggest pattern house

Thousands of happy customers

Free UK delivery on orders over £25
Shop by brand

Featured patterns you might like
-
Product on sale
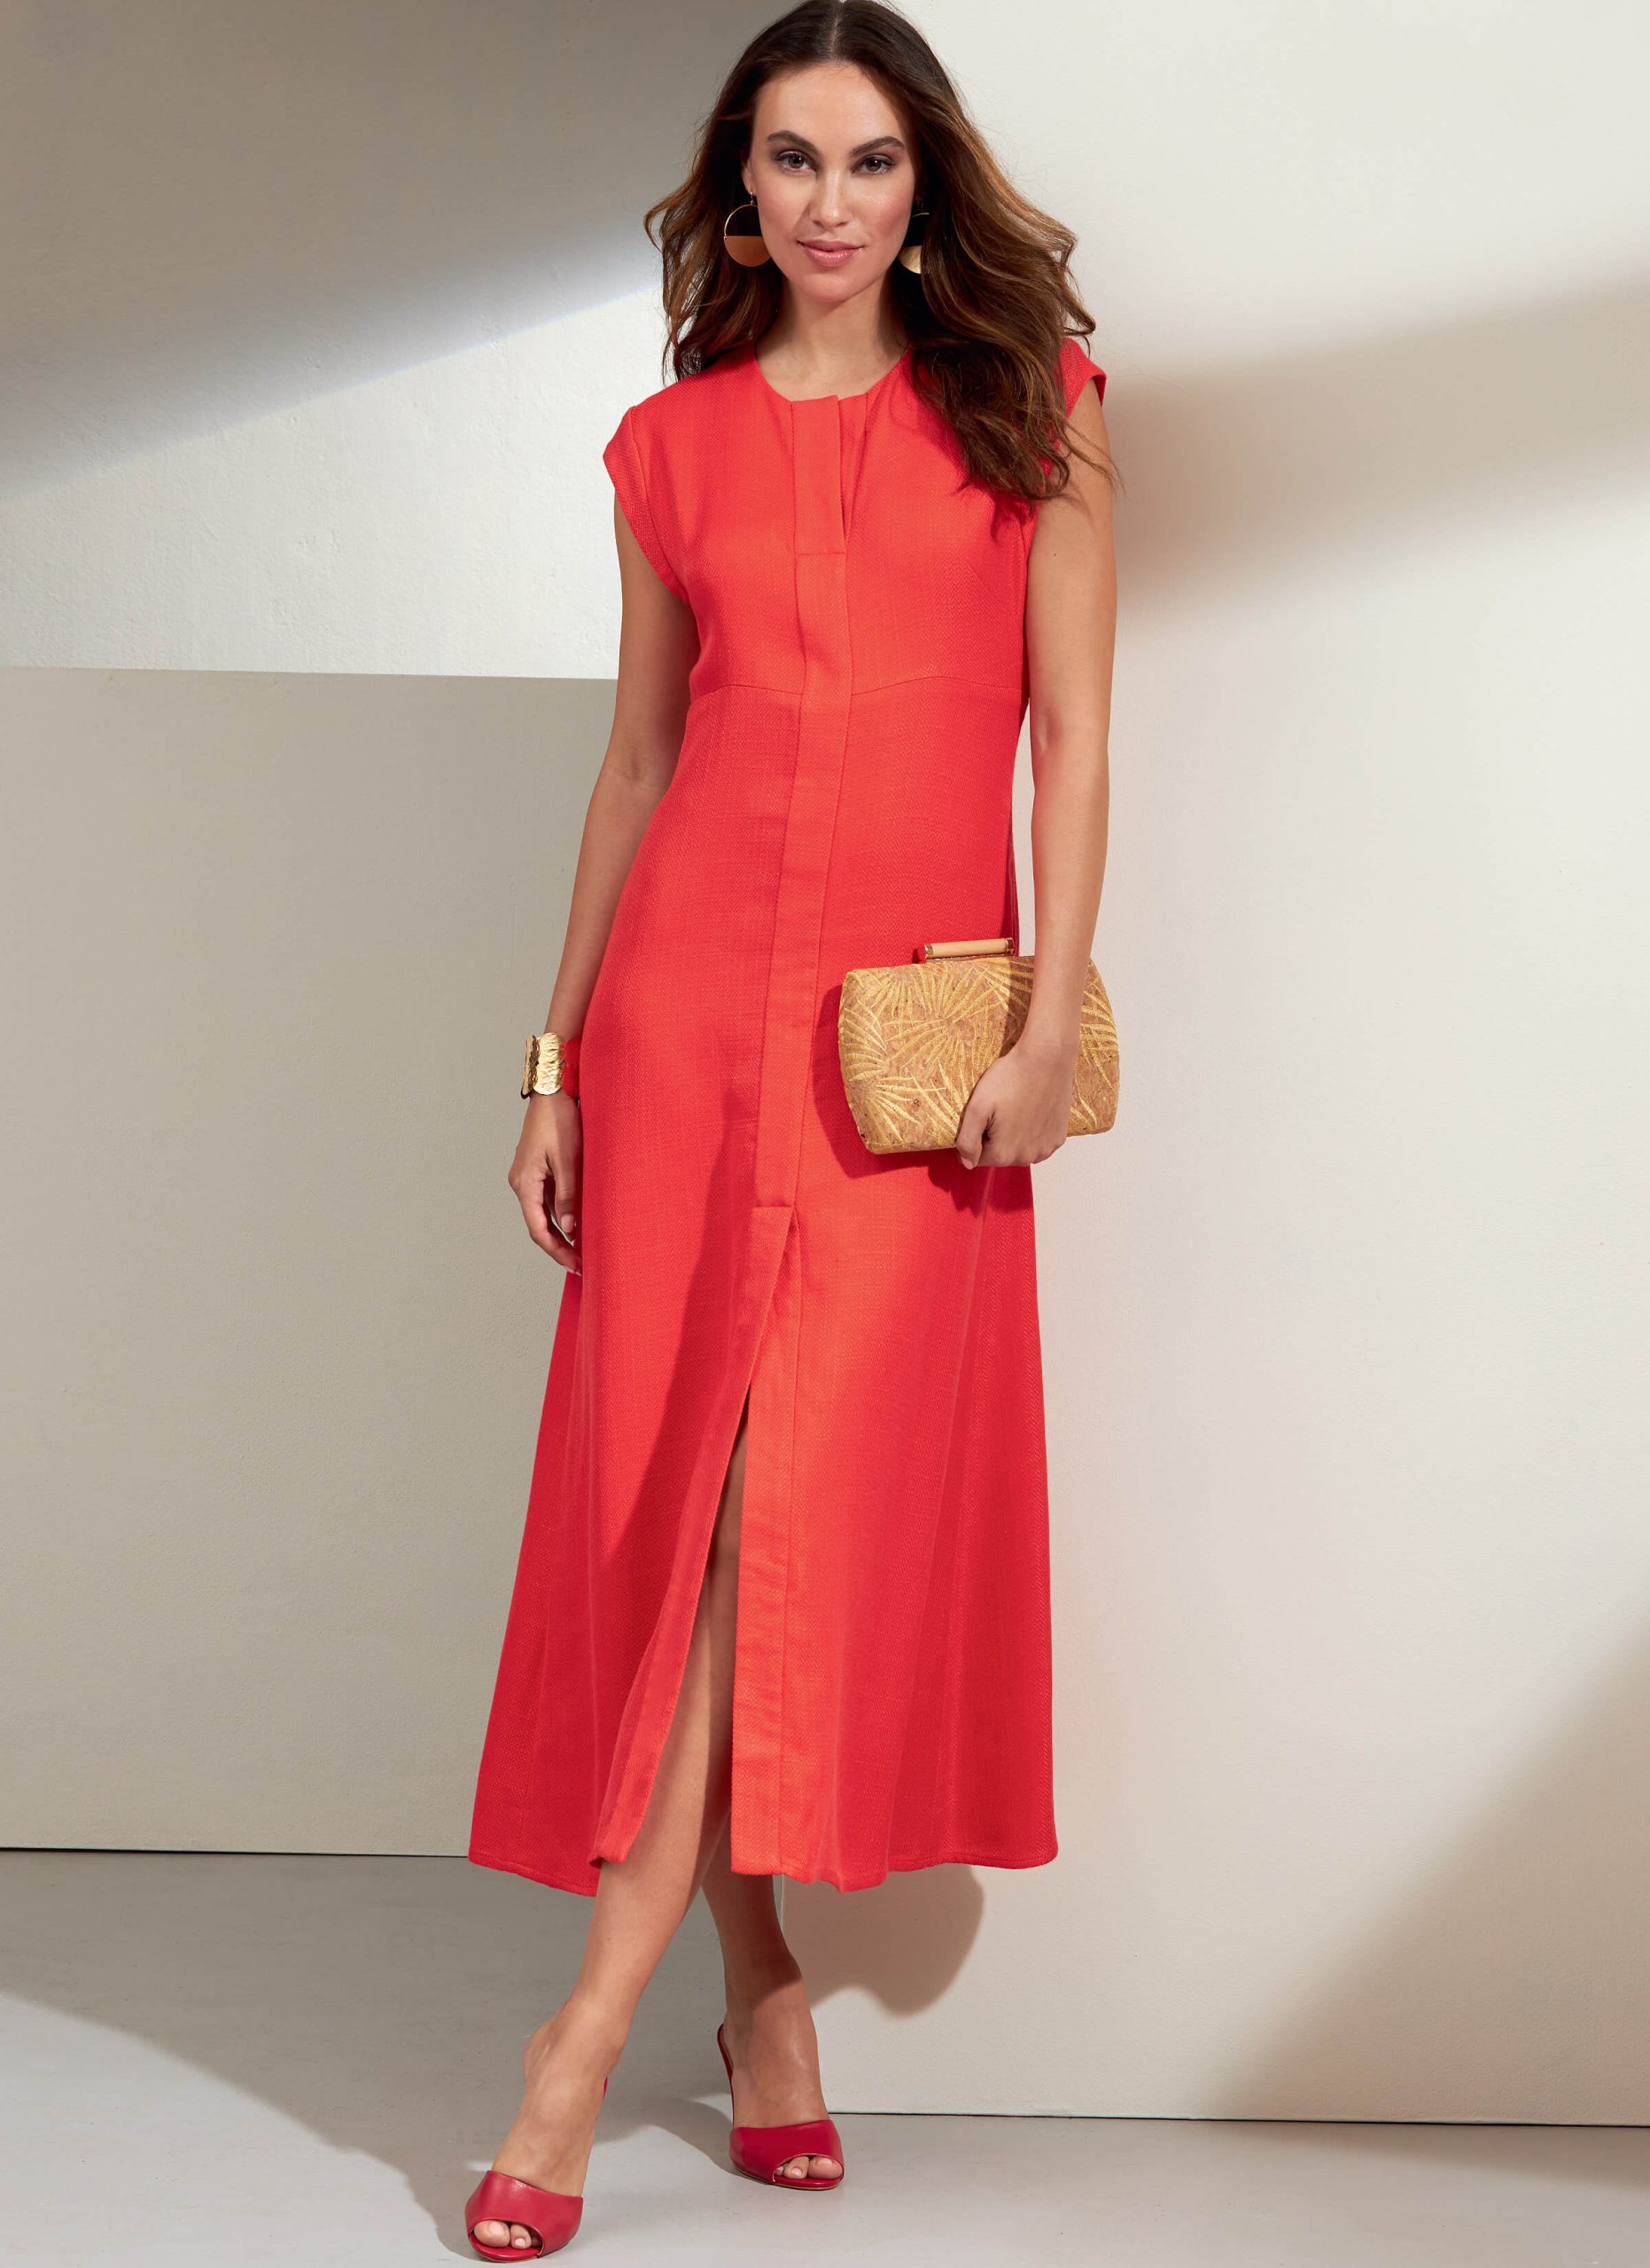
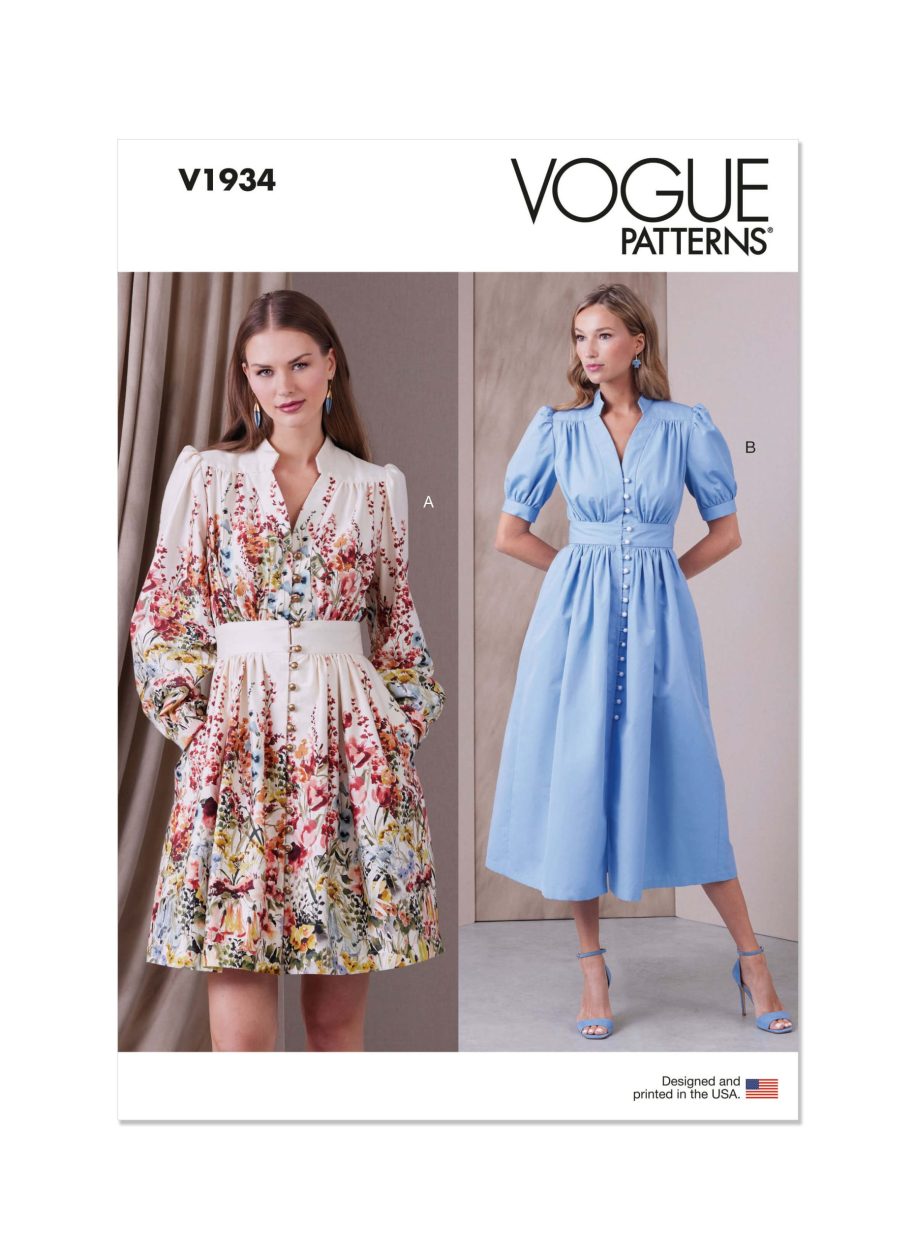
 Vogue Patterns V1934 Misses’ Dress in Two Lengths
£18.50£9.25 -
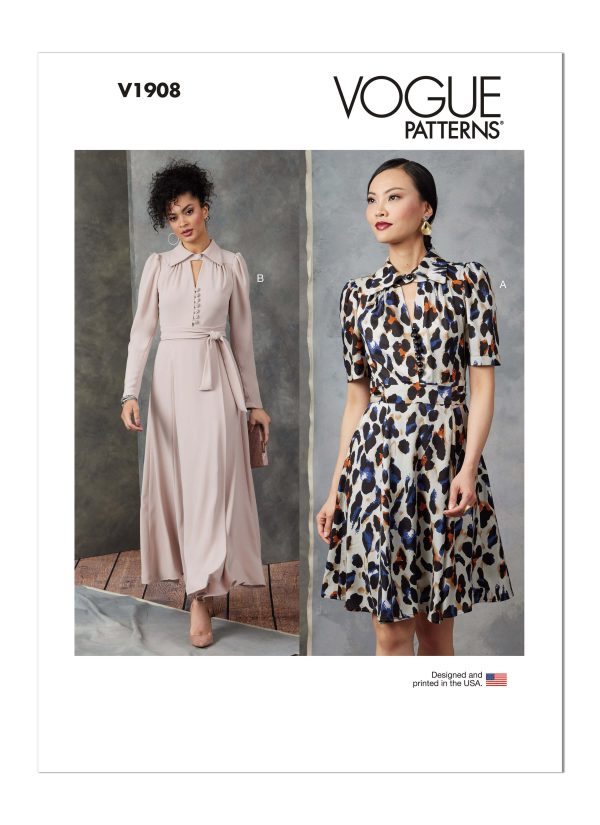
Product on saleVogue Patterns V1908 Misses’ Dress
£18.50£9.25 -
Product on saleVogue Patterns V1859 Rachel Comey Misses’ Dress
£20.00£10.01 -
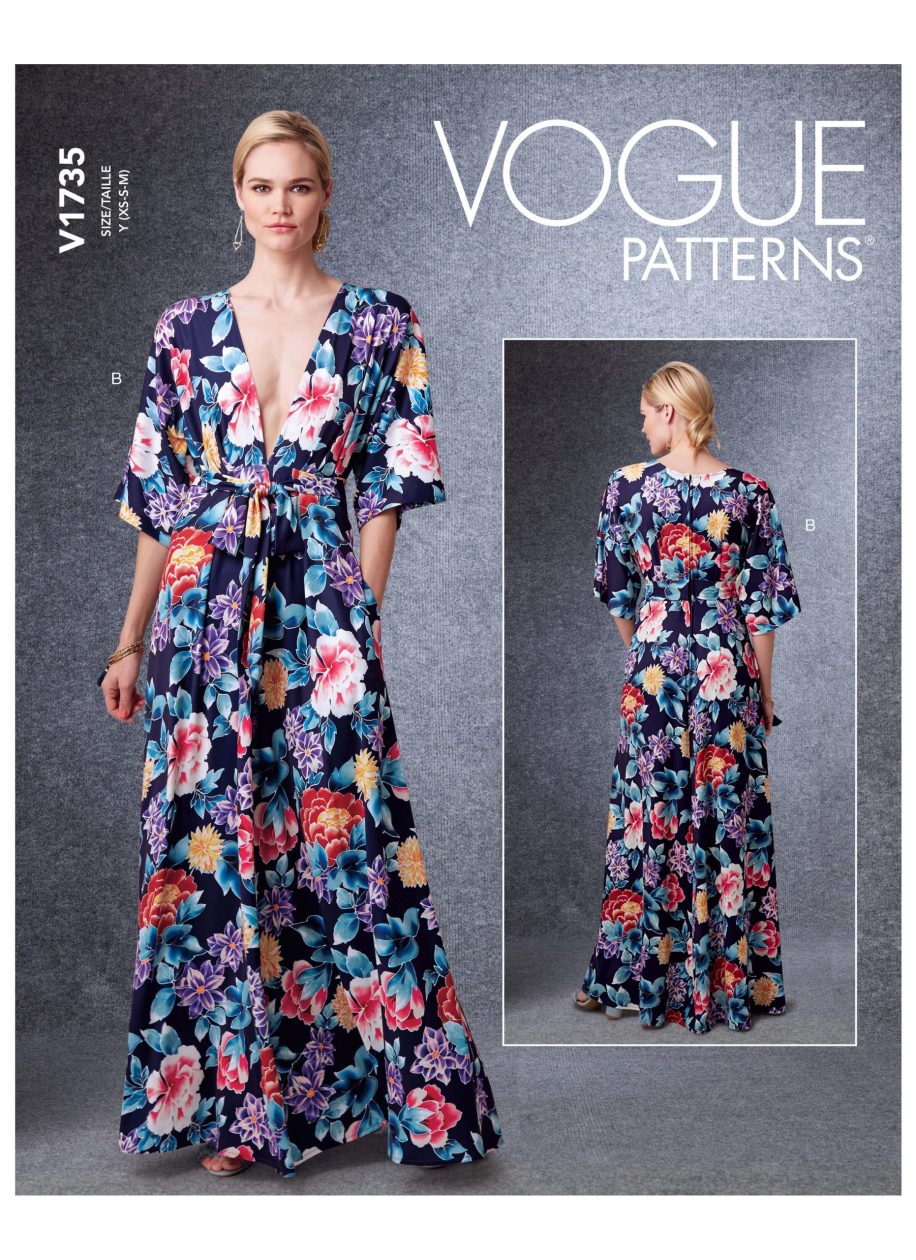
Product on saleVogue Patterns V1735 Misses’ Deep-V Kimono-inspired Dresses with Self-TieBelt
£17.50£8.75

We’re Sewdirect – the UK’s biggest pattern house
Sewdirect is the UK consumer website for Simplicity, Vogue Patterns, Butterick, McCall’s, New Look, and Know Me Patterns. sewdirect.com also offers the German pattern brand Burda, as well as haberdashery and needlecraft items, sewing tools and accessories.